

Custom Oil Labels Need Adhesive Validation Before Ordering
A label may look correct on a dry sample bottle and still fail after filling, capping, warehouse handling, or retail display. For buyers sourcing Custom Oil Labels, the biggest regret is approving artwork before confirming the actual bottle surface, fill process, oil exposure, and storage conditions. Adhesive failure is not only a print problem. It is usually a material and application problem that appears after production has already been packed.
Oil products create several risks at once. Exterior residue can prevent full adhesive contact. Smooth glass and plastic offer limited surface texture. Curved containers can force tension into the label. Heat can soften some adhesive systems, while cold storage and condensation can weaken initial bonding. A label that wrinkles, lifts at the corners, or slides after application can make a premium oil product look poorly controlled.
The right buying decision starts with boundaries. Do not ask only whether a label is waterproof. Ask whether the container will be wiped before labeling, whether the product can seep onto the outer bottle, whether labels are applied by hand or machine, and whether bottles face heat, refrigeration, shipping abrasion, or prolonged shelf storage. These answers determine whether a standard option is reasonable or whether you need a more specific material review.
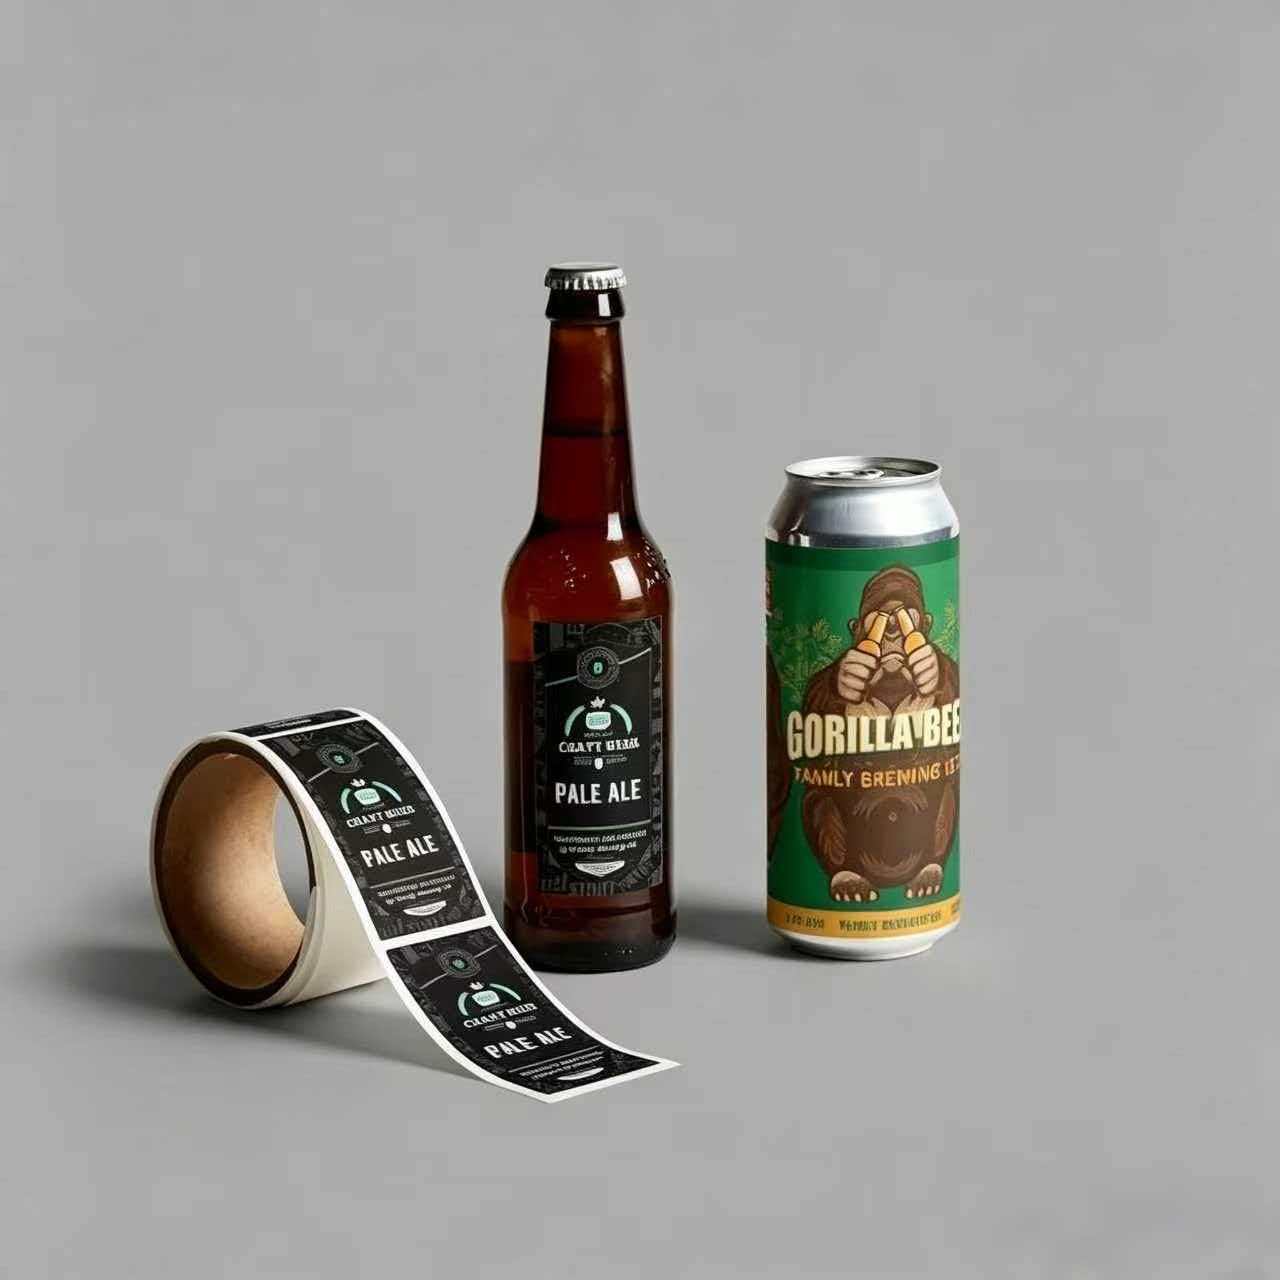
Match the Label Construction to the Bottle and Exposure
Choose the face material, finish, print treatment, and adhesive as one system. Selecting a durable film but leaving the adhesive decision unresolved can still lead to lifting. For oil product packaging, the safest starting point is usually a film based option rather than an unprotected paper label, especially when the bottle exterior may be wiped, splashed, or handled with oily hands. That does not mean every film label will bond to every surface. Surface condition still decides the result.
| Label option | Best fit | Why buyers select it | Limit or warning |
|---|---|---|---|
| BOPP film labels | Oil bottles with frequent handling or moisture exposure | BOPP lamination is available for added surface protection, and the material is a practical starting point for product labels that need a film construction. | Film alone cannot compensate for oil residue under the adhesive. |
| Clear BOPP labels | Glass containers where the bottle itself should remain visible | Clear stock can support a minimal appearance while keeping printed brand elements visible. | White ink opacity needs approval on clear substrates. Confirm the proof before production. |
| Matte BOPP film | Premium edible oil or gift packaging | A matte surface can support a restrained shelf presentation and can be combined with foil stamping options. | Do not choose a finish only from a screen image. Review how it looks on the actual bottle color. |
| Paper labels | Short term dry packaging with controlled handling | Paper may suit products that stay dry and clean throughout application and use. | It is not the first choice when exterior oil contact, condensation, or repeated wiping is expected. |
For a clear glass olive oil bottle, a clear face material may seem attractive, but the design must account for the liquid color behind the label. Pale text can disappear over dark oil, and weak white ink may not provide sufficient opacity. For this situation, submit artwork with a clear instruction showing which elements require white ink and which areas should remain transparent. See our clear custom bopp labels options when the container needs to remain visible.
For dark plastic bottles or opaque lubricant containers, an opaque label is often easier to read because the design does not depend on the bottle color. The limit is that an opaque construction still requires a clean, dry application zone. A label cannot make up for a container that reaches the labeling station with oil film around the panel.
Ask These Questions Before Approving the Proof
A proof confirms artwork, but it should also trigger a packaging review. Buyers should provide a photo of the real bottle, including the front panel, shoulder curve, seams, textured areas, and cap area. A flat digital mockup cannot reveal the application risks created by a narrow cylinder or a heavily tapered bottle.
- Identify the container material. State whether the bottle is glass, PET, PP, HDPE, PVC, or another plastic. “Plastic bottle” is not enough for an adhesive decision because different plastics can behave differently.
- Describe the labeling panel. Confirm whether the label sits on a flat section, a straight cylinder, a taper, a recessed area, or a textured surface. Use a measured label panel drawing if available.
- Explain the filling sequence. Specify whether labels are applied before or after filling and whether bottles are wiped after filling. This identifies the risk of exterior oil reaching the adhesive.
- List actual exposure. Include refrigeration, condensation, warm storage, shipping, retail handling, kitchen use, or industrial worksite exposure. Do not list conditions that will not occur.
- Confirm the required finish. Identify matte, gloss, clear, metallic foil, or other visual requirements. A finish request can affect the material route.
- Approve a production proof. Check product name, ingredient or safety content supplied by your team, barcode area, white ink treatment, and all color references before release.
This process fits buyers validating label material before a purchase order. It does not replace testing on a filled production bottle. When the surface condition is uncertain, ask for a sample run and apply labels to containers from your own filling line. That is more reliable than approving based only on an empty, clean bottle.
Our label production includes photo or digital sample confirmation before production. Sample lead time for labels is 3 days, while bulk production is generally 8 to 9 days. Custom Panda operates an ISO 9001:2015 Quality Management System certified facility with six production lines and daily label capacity exceeding 1,000,000 pieces. Those production resources help with planned bulk orders, but they do not remove the buyer’s need to disclose oil contamination and storage conditions early.
Failure Boundary FAQ for Oily Glass and Plastic Containers
The following answers set realistic limits for standard adhesive labels. They are intended to prevent a common sourcing error: treating “permanent adhesive” as a promise that a label will bond to every oily package under every condition.
| Buyer question | Direct answer | What to do before ordering |
|---|---|---|
| Will a standard adhesive stick to an oily glass bottle? | Not reliably if oil is present where the label must bond. Oil between the adhesive and glass can reduce contact and cause edge lifting or complete release. | Make sure the label panel is cleaned and dry before application. Send photos of the filled bottle if oil seepage occurs near the label area. |
| Why does a label peel after the bottle is filled? | The filling process may leave oil, moisture, or cleaning residue on the exterior. A label applied to that residue may appear attached at first and then lift later. | Review the order of filling, wiping, drying, and labeling. Test on production bottles rather than empty samples only. |
| Can a standard adhesive prevent wrinkles on curved bottles? | No. Wrinkles can occur when a flat label is forced over a taper, shoulder, ridge, or highly curved panel. Adhesive strength does not correct a shape mismatch. | Use the straightest available label panel, reduce label coverage where needed, and provide the bottle dimensions for layout review. |
| Will labels hold on plastic containers? | They may, but plastic type and surface condition matter. Smooth or low surface energy plastics can require testing, particularly when the container is oily or has mold release residue. | Identify the exact plastic, provide an unfilled bottle and a filled bottle, and request material guidance before confirming the order. |
| Does a waterproof face material stop adhesive lifting? | No. Water resistance at the printed face does not mean the adhesive will bond through oil, condensation, dust, or residue. | Evaluate face material and adhesive together. Use oil and waterproof labels as a starting category, then confirm the actual exposure. |
| Can labels be applied to bottles straight from cold storage? | That depends on whether condensation is present. Moisture on the label panel can interfere with bonding and may lead to lifting later. | Apply to a dry surface and disclose cold storage conditions during the quotation stage. |
| Will an adhesive solve leakage around a cap or neck? | No. If oil repeatedly migrates over the label edge, the root problem is package leakage or spill control, not simply label selection. | Move the label away from the leak path where possible and correct the packaging issue before final testing. |
The practical boundary is simple: standard adhesives are suited to clean, dry, compatible surfaces under disclosed handling conditions. They should not be approved as a substitute for bottle cleaning, leak control, or shape review. If your process cannot keep the label panel clean, request a material assessment rather than relying on an assumed permanent bond.
Use Design Choices That Reduce Application Risk
Label artwork has a direct effect on whether defects are noticeable. A full wrap label on a tapered bottle has more opportunity to wrinkle than a smaller front label placed on a straight panel. Likewise, a heavy border close to the trim edge can make minor application variation look more obvious. This does not mean borders are prohibited; it means the layout should allow for the realities of bottle application.
- Keep key copy away from edges. Product names, lot areas, and mandatory information should not sit where small alignment variation could reduce legibility.
- Use a defined writing area when needed. If operators need to add dates, batch details, or warehouse notes, identify that requirement before material selection. Not every label surface holds handwritten markings equally well.
- Protect brand color references. Supply approved color files or references at proof stage. Color mismatch against brand guidelines is a preventable approval issue.
- Specify foil deliberately. Custom foil stamping colors are available, but foil should support the hierarchy rather than interfere with necessary product information.
- Plan the label shape for the bottle. A shape that follows a bottle’s usable panel may apply more cleanly than a large rectangle forced across curves.
For a premium gift bottle, matte BOPP film with foil detailing may suit the visual brief if the label panel remains clean and relatively straight. For a workshop lubricant bottle that may be handled with oily gloves, prioritize readable information, a practical film material, and a location away from the neck or dispensing area. The first scenario focuses on shelf appearance; the second focuses on handling exposure. Neither should be approved without bottle testing.
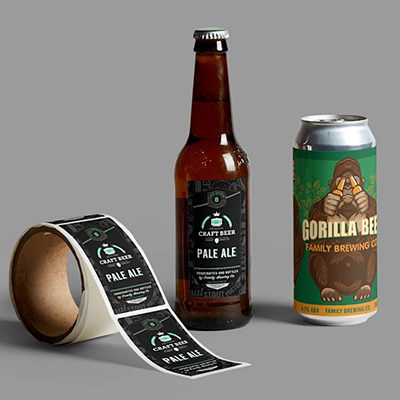
For labels that need to serve a bottle rather than a roll of unused stock, review our custom beverage bottle labels page for container focused formats, or compare industrial grade custom pet labels when a more industrial product presentation is required.
Build an RFQ That Produces a Usable Recommendation
A short RFQ often creates a short answer. Give the supplier enough detail to identify the risk before artwork is finalized. This is especially relevant for oil product packaging because the same printed design can perform differently on clean glass, oily glass, smooth plastic, or a bottle with condensation.
| RFQ item | What to provide | Why it matters |
|---|---|---|
| Container sample | Photos and, where possible, physical filled bottles | Shows the actual label panel, oil exposure zones, and final product color. |
| Material details | Glass or exact plastic type | Supports adhesive and face material review. |
| Label size and position | Width, height, panel location, and wrap direction | Helps identify taper, overlap, and wrinkle risk. |
| Application process | Hand application or machine application, plus filling sequence | Reveals whether labels meet oil, moisture, or handling residue. |
| Exposure conditions | Cold storage, heat, moisture, oils, cleaning, and shipping handling | Sets realistic performance boundaries before production. |
| Artwork requirements | Brand colors, barcode, white ink, foil, matte or gloss finish | Prevents missed print treatments and reduces proof revisions. |
For standard bulk items, the minimum order quantity is 1,000 pieces, with better pricing at larger quantities. Selected digital printing and custom items have no minimum order quantity. Buyers should confirm the production route after material and quantity are known rather than assuming a small test order and a large production order will use the same process.
Our quality process includes color mismatch free reprints, proportional replacement for defects, 5 day fast restocking or repair, and 100 bonus pieces with every bulk order. These protections address confirmed production defects. They should not be treated as coverage for labels applied to undisclosed oily, wet, contaminated, or incompatible bottle surfaces. Clear pre order disclosure protects both the buyer and the final packaging result.
Request a material review, provide your bottle photos and application conditions, and ask for a sample before releasing your oil label order.