

How to Accurately Budget for Custom Embroidered Patches
The most common budgeting mistake I see brands make is requesting a quote for custom embroidered patches based on size alone. They receive an initial price, approve the budget, and then submit detailed artwork—only to see the final cost increase significantly. Why? The quote didn't account for the single most important price driver: stitch count. A simple 3-inch patch with text is vastly different from a 3-inch patch with a full-color, photorealistic design.
After 12 years on the manufacturing floor, I’ve helped hundreds of businesses avoid this frustrating surprise. Understanding how your design translates into thread and machine time is the key to getting a price that doesn't change. This guide will break down the cost components, show you how to estimate your needs, and highlight the quality markers that separate a durable, professional patch from one that quickly frays or fades. Let's get it right from the start.
Deconstructing the Cost of an Embroidered Patch
An embroidered patch quote is more than just its dimensions. Several interconnected factors determine the final per-unit price. When you're comparing quotes, ensure each one accounts for these variables to get a true side-by-side comparison. Our pricing is transparent, and it's built on these core elements.
Here is a detailed breakdown of what drives the cost of wholesale embroidered patches:
| Cost Factor | How It Affects Pricing | Key Considerations & Examples |
|---|---|---|
| Stitch Count | Primary Cost Driver. Higher stitch count means more thread, more raw material, and longer machine run times per patch. | A patch with 100% embroidery coverage (no visible twill background) will cost more than one with 50% coverage, even if they are the same size. Complex logos and fine details dramatically increase stitch density. |
| Patch Size | Significant Impact. Larger patches require more base material (twill) and provide more area to fill with stitches, directly increasing the stitch count. | Doubling a patch's dimensions from 2x2" to 4x4" quadruples the surface area, often leading to a substantial price increase. |
| Order Quantity | Major Influence on Per-Unit Cost. Larger orders distribute initial setup costs (digitizing, machine programming) across more units, lowering the price of each patch. | While we offer no MOQ on some items, bulk orders starting at 1,000 units receive significantly better pricing due to production efficiencies. Every bulk order also includes 100 bonus pieces. |
| Number of Thread Colors | Minor to Moderate Impact. Each color in a design requires the embroidery machine to stop and switch threads. Designs with many colors (e.g., 9-12) have slightly longer production times. | A simple two-color logo will be marginally cheaper to produce than a logo with ten distinct colors. We offer free design assistance to help optimize your color palette for both aesthetics and cost. |
| Backing Type | Moderate Impact. The backing determines how the patch is applied. Different materials and application processes have different costs. | Standard sew-on is the baseline. Heat-seal (iron-on) backing adds a small cost. Adhesive (peel-and-stick) is similar, while hook-and-loop (Velcro) is typically the most expensive option due to the two-part material cost. |
| Specialty Threads & Borders | Situational Impact. Options like metallic, neon, or glow-in-the-dark threads cost more than standard polyester threads. A hot-knife border for complex shapes can also be more involved than a standard merrowed border. | Using gold metallic thread for a premium look will increase the material cost. For an outdoor brand in the United States, we used weather-resistant threads on their custom hook & loop patches to ensure longevity. |
Estimating Stitch Count Before You Request a Quote
While only digitizing software can give you a precise stitch count, you can make a solid estimate by evaluating your design’s complexity and embroidery coverage. "Coverage" refers to how much of the base twill fabric is covered by stitches. This is the best way to anticipate your costs before even submitting artwork.
Think of your patch's surface area. Is it mostly open space with a few letters, or is it a solid block of color and detail?
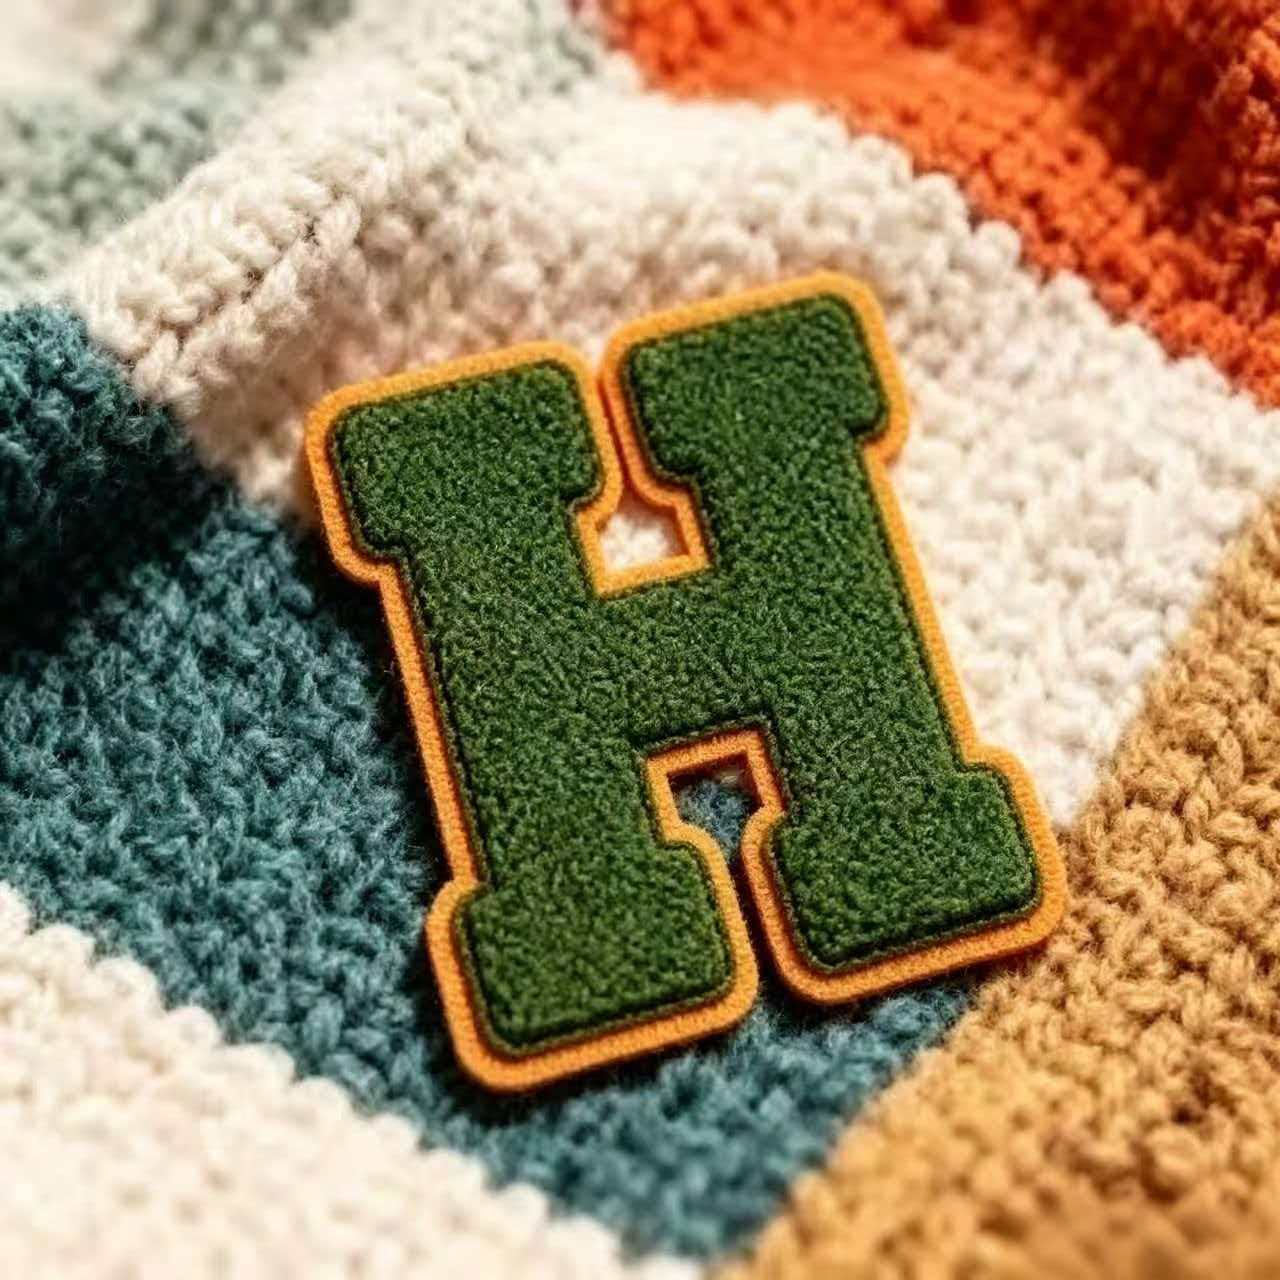
Here’s a practical guide to help you classify your design:
- Low Coverage (Under 50%): These are typically name patches or designs with simple text and outlines on a visible twill background. The design elements are minimal. This is the most cost-effective option.
- Standard Coverage (50% - 75%): Most company logos fall into this category. The design includes filled-in areas and text, but a portion of the twill background is still visible, often as a border or negative space.
- High Coverage (75% - 99%): These designs are more detailed, with multiple colored sections and less visible background twill. The embroidery is the dominant feature of the patch.
- Full Coverage (100%): The entire surface of the patch is covered in thread, hiding the base twill completely. This creates a premium, solid texture but requires the highest stitch count and is therefore the most expensive option per square inch.
To get an exact number, our team provides free design assistance. When you send us your artwork, we can digitize it and give you a precise stitch count, ensuring your quote is 100% accurate before you commit to production.
Common Design Flaws That Inflate Costs and Reduce Quality
A great design on screen doesn't always translate into a great embroidered patch. Certain design choices can unnecessarily increase your embroidered patch pricing or, worse, result in a final product that looks blurry or unprofessional. Having overseen production at our 8,000 m² facility, I’ve identified a few common pitfalls that are easy to avoid with a little foresight.
Watch out for these issues in your artwork:
- Tiny, Unreadable Text: Letters under 4-5mm in height are extremely difficult to embroider cleanly. The threads pull and bunch, making the text illegible and messy. This is a primary cause of "low detail resolution" failure. Instead, simplify your text or choose a woven patch for fine details.
- Mismatching the Border to the Shape: A merrowed border is a classic, raised edge created by a special machine. It works perfectly for simple shapes like circles, squares, and shields. For complex, custom shapes with sharp corners or cutouts, a hot-cut border is necessary to prevent fraying. Forcing a merrowed border on an intricate shape is a recipe for poor quality.
- Weak Adhesive Backing: Not all backings are created equal. An iron on patch backing intended for a cotton t-shirt will fail quickly on a nylon backpack or a washed denim jacket. For an Italian denim line, we supplied engraved leather patches for hats & jeans designed to withstand industrial stonewashing. Always specify the final application so your manufacturer can recommend a backing that lasts.
- Using Color Gradients: Embroidery uses solid-colored threads. While skilled digitizers can simulate gradients using blending techniques, it drastically increases stitch count and complexity. It rarely looks as smooth as a printed design. For photorealistic or gradient-heavy art, an offset printed patch is a better and more cost-effective choice.
We prevent these issues by providing a digital sample for your approval before starting bulk production. This step ensures your design is optimized for embroidery and that you know exactly what you're getting.
Beyond Cost: What to Look for in a Reliable Patch Manufacturer
The lowest price isn't always the best value, especially when your brand's reputation is on the line. A reliable manufacturing partner provides quality assurance, production transparency, and support. When sourcing your patches, use this checklist to vet potential suppliers.
A Buyer's Decision Checklist:
- Quality Management Systems: Does the factory adhere to international standards? Our facility is ISO 9001:2015 certified, which means our processes are consistently monitored for quality and efficiency. We are also Disney FAMA certified, clearing us for production for major global brands.
- Proven Expertise and Case Studies: Can they show you examples relevant to your industry? We've produced heavy-duty patches for outdoor brands in the United States, plush fluffy chenille varsity patches for university sports teams in Sweden, and high-fashion patches for denim lines in Italy. This experience means we understand diverse application needs.
- Clear Timelines and Capacity: Can they meet your deadlines? We offer a 3-day lead time for samples and 8-9 days for bulk production, with U.S. shipping taking 5-6 business days. Our six dedicated production lines give us the capacity to handle high-volume orders without delay.
- Guarantees and Support: What is their policy on defects? We stand by our work with a color mismatch free reprint policy, proportional replacement for any defects, and fast re-stocking. You also get live human support, not a chatbot, to resolve any issues quickly.
- Material and Technique Versatility: Do they offer more than just one type of patch? We provide fine embroidery, woven, heat transfer, PVC soft rubber, and chenille options, ensuring you get the right product for your design, not just the one a factory happens to make.
Choosing a partner with this level of infrastructure and support protects your investment and ensures your final custom patches strengthen your brand identity.
Ready to get an accurate price for your design? Submit your artwork for a free quote and a precise stitch count analysis from our experts.