

Ordering Custom Embroidered Patches On A Budget
Custom embroidered patches are an affordable way to brand your team, promote your business, or personalize your gear — but that initial quote can still catch you off guard. The good news? Staying on budget doesn't mean settling for poor quality; it just means making smarter choices. Custom Panda offers practical guidance to help you navigate these cost-saving opportunities while maintaining high standards of craftsmanship. In this guide, we'll answer the key "what" and "how" questions that turn a potentially expensive order into a budget-friendly win.
What Determines the Cost of Custom Patches?
Before you can start saving money, you need to understand where your money is actually going. Custom patches pricing isn't arbitrary — it's the result of a fairly predictable set of variables. Once you grasp these cost drivers, you'll be empowered to make intentional decisions rather than accepting whatever quote lands in your inbox.
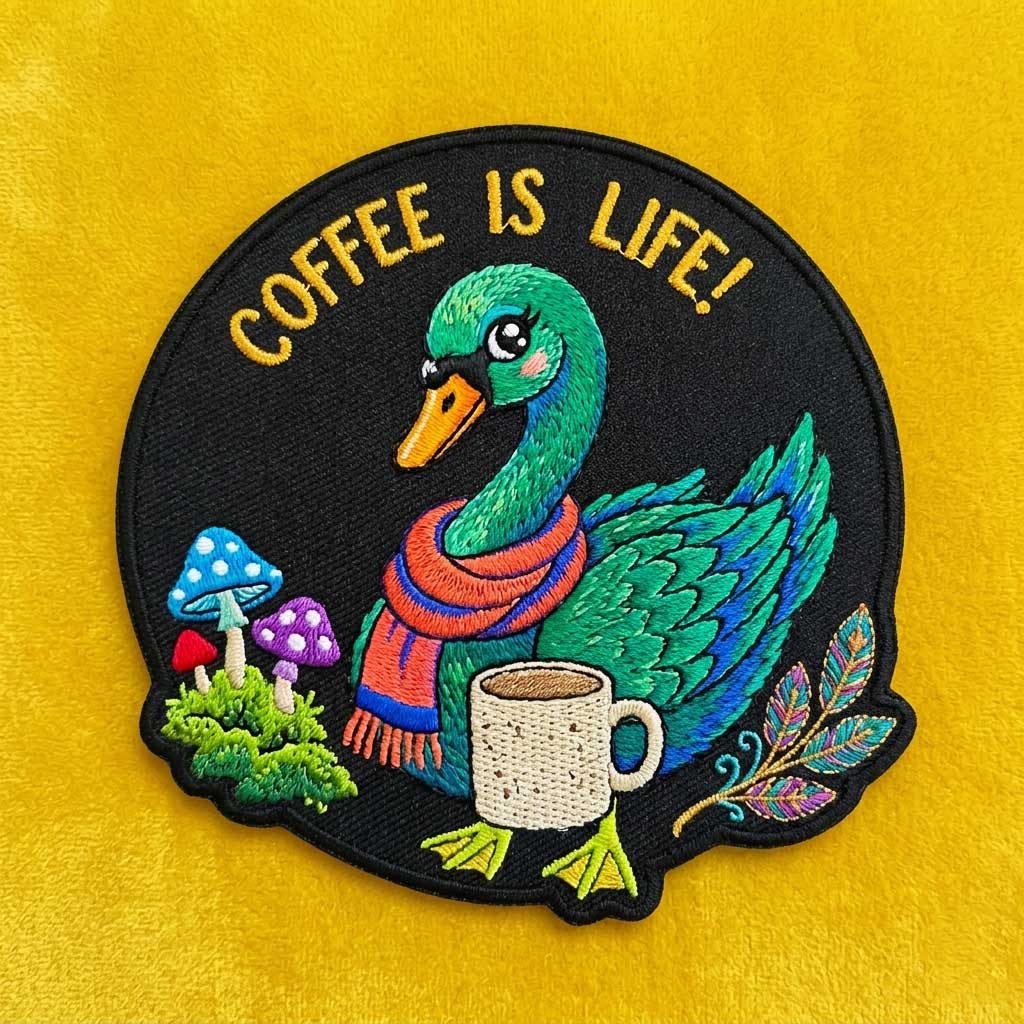
Size is arguably the biggest factor. Larger patches require more thread, more backing material, and more machine time. A 4-inch patch might cost twice as much as a 2-inch patch of the same design, simply because it consumes more of everything. This is a linear relationship: bigger almost always means more expensive.
Color count directly affects production complexity. Each color in your design requires a separate thread change during the embroidery process. While a machine can stitch one color continuously, switching to the next color takes time and labor. More colors mean more stops, more thread trimming, and more opportunities for misalignment. This is why keeping your palette tight is one of the fastest ways to lower your quote.
Stitch count is the silent cost driver most beginners overlook. This refers to the total number of individual stitches your design requires. A design with dense fill areas, intricate details, or small text will have a high stitch count, which translates directly to longer production time. Some suppliers charge per 1,000 stitches, so this number matters a lot.
Backing and attachment choices add material and labor costs. Sew-on patches are simplest to produce — just embroider the patch and cut it out. Iron-on or adhesive backings require additional layers of material and extra manufacturing steps. Velcro (hook-and-loop) attachments involve sourcing and sewing on the hook material, which adds both material cost and assembly time.
Border type matters more than you might think. Merrowed borders are created by wrapping a tight overlock stitch around the edge of the patch, which requires specialized machinery. Hot-cut borders are simply laser- or die-cut edges, which are faster but require precise cutting equipment. Both have cost implications depending on your patch shape.
Order quantity is perhaps the most controllable factor. Patch production involves fixed setup costs — digitizing your artwork, creating the backing material, setting up machines. These costs are spread across every patch you order. The more patches you produce in one run, the lower the setup cost per unit.
Packaging and shipping are the final pieces of the puzzle. Bulk packaging (poly bags, cardboard boxes) costs less per patch than individual poly bags or custom display cards. Shipping costs scale with weight and package dimensions, which are affected by your total order size and packaging choices.
By understanding each of these elements, you can start making targeted decisions that chip away at the total cost. The sections below will show you exactly how.
How Does Design Simplification Reduce Cost?
Your artwork is the starting point for everything, and it's also where you have the most control over cost. Many first-time buyers assume they need to replicate their digital design exactly as-is, but embroidery is a different medium than digital printing. Embracing that difference can save you a significant amount of money.
Start by merging similar colors. Look at your design and ask: do we really need three shades of blue that look nearly identical from three feet away? If the answer is no, combine them. Every color you eliminate removes an entire thread change from the production process. Many experienced patch buyers aim for five to seven colors maximum — and often find they can tell their story perfectly well with fewer.
Simplify fine details and gradients. Embroidery uses physical thread, which has thickness. Extremely fine lines, tiny text, or subtle shading gradients simply don't translate well into stitches. When designers try to force these elements into embroidery, it often results in a higher stitch count and a muddy final product. Instead, consider simplifying those details — making lines bolder, text larger, and gradients into solid color blocks. The result is often a cleaner, more legible patch at a lower cost.
Choose the right fonts. If your patch includes text, opt for bold, sans-serif fonts with enough spacing between letters. Serif fonts (with small decorative strokes) or script fonts tend to get lost in embroidery, requiring larger sizes and higher stitch counts to remain readable. Simple, clean typography isn't just cheaper — it looks more professional on fabric.
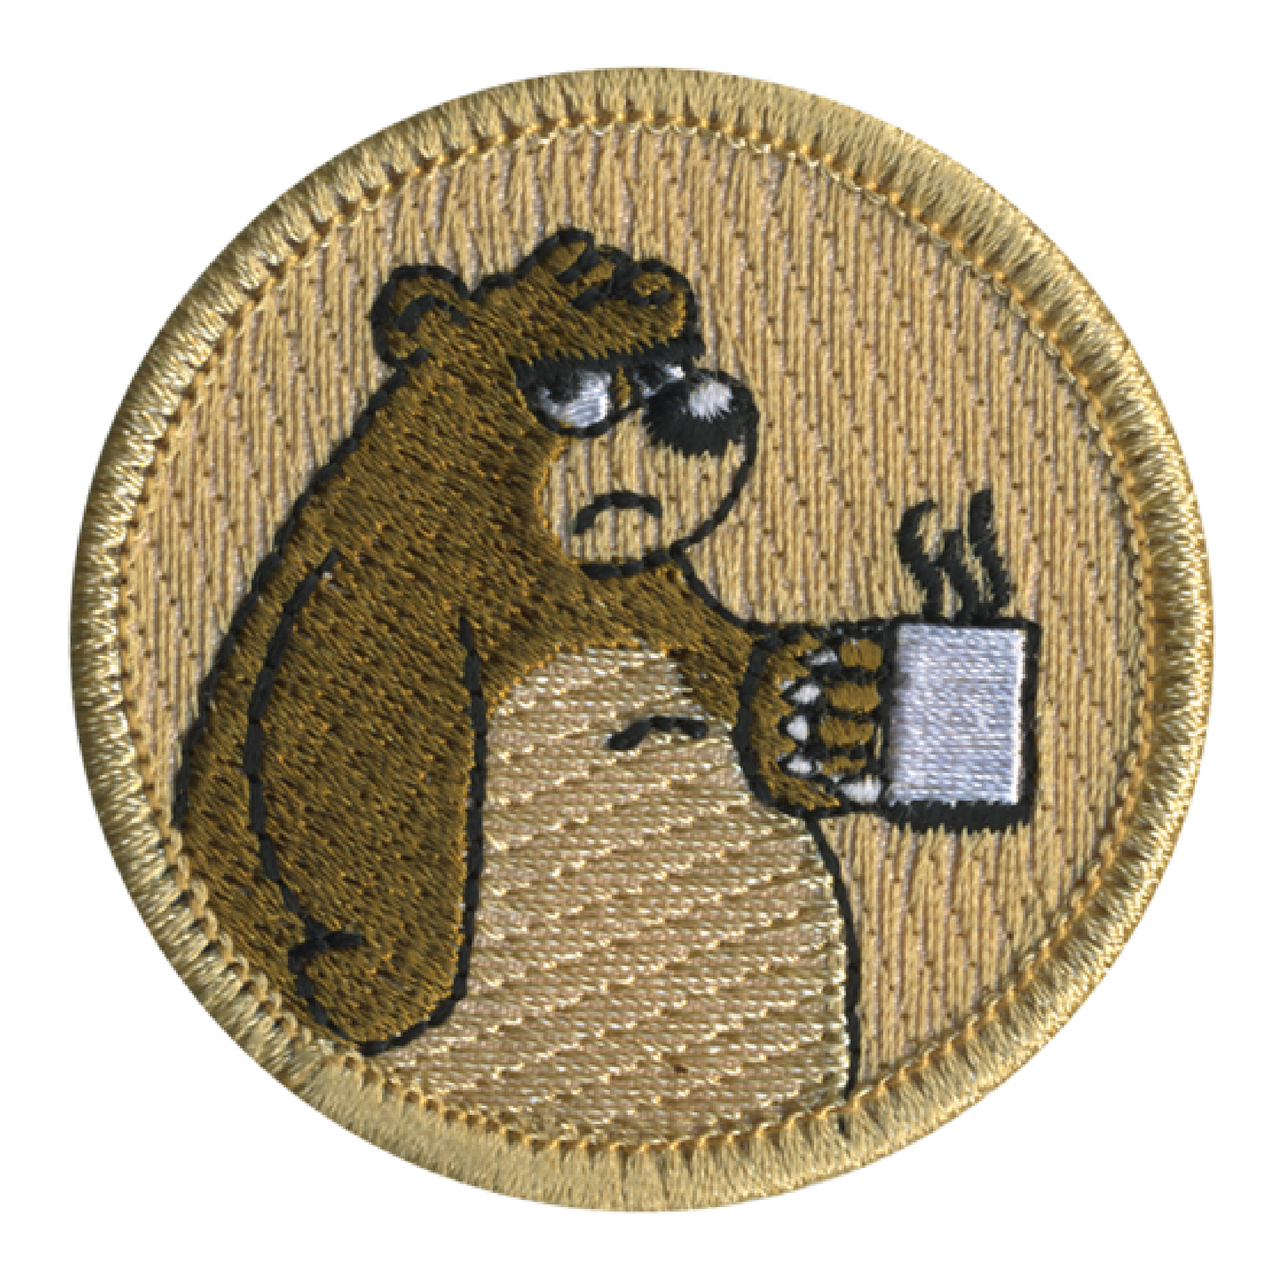
Consider silhouette over detail. Some of the most iconic patches in the world are relatively simple: think of a national flag, a corporate logo with clean geometry, or a bold mascot silhouette. These designs work because they communicate identity clearly without unnecessary complexity. If your brand can be represented effectively with a simplified version of your full artwork, that simplified version will almost certainly be cheaper and possibly more impactful.
Request a stitch preview. Most reputable suppliers, including Custom Panda, provide a digitized preview showing how your design will stitch out. Review this carefully — if you see areas where stitches bunch up or details look cramped, that's a signal that your design could be simplified further.
Design principle: every thread has a cost, and every color change adds labor. Work with your design, not against it, and you'll naturally reduce expenses while maintaining — or even improving — the visual impact of your patch.
What's the Most Cost-Effective Patch Size?
Size is often the most emotionally charged decision in the patch-ordering process. Everyone wants their design to be seen and noticed, which naturally pushes them toward bigger dimensions. But bigger isn't always better, and it's rarely more cost-effective.
Define your minimum legible size. The smallest practical size for a patch is determined primarily by the text and details in your design. A good rule of thumb: if your patch has text, the letters need to be at least 4mm tall to remain legible in embroidery. Thinner fonts or script styles may require 5-6mm. Count how many characters you have and calculate the minimum width accordingly.
Test readability at actual size. Design your artwork on a screen, then print it at 100% scale and place it on the intended garment or surface. Step back three feet — if you can read the text and recognize the design clearly, that size works. Many buyers discover their design is perfectly legible at a smaller size than they originally assumed.
Consider where the patch will live. A patch on a backpack or jacket can be larger because those surfaces offer plenty of real estate. A patch on a baseball cap or shirt pocket should be smaller to fit the space properly. There's no point paying for a large patch if the placement calls for something more modest.
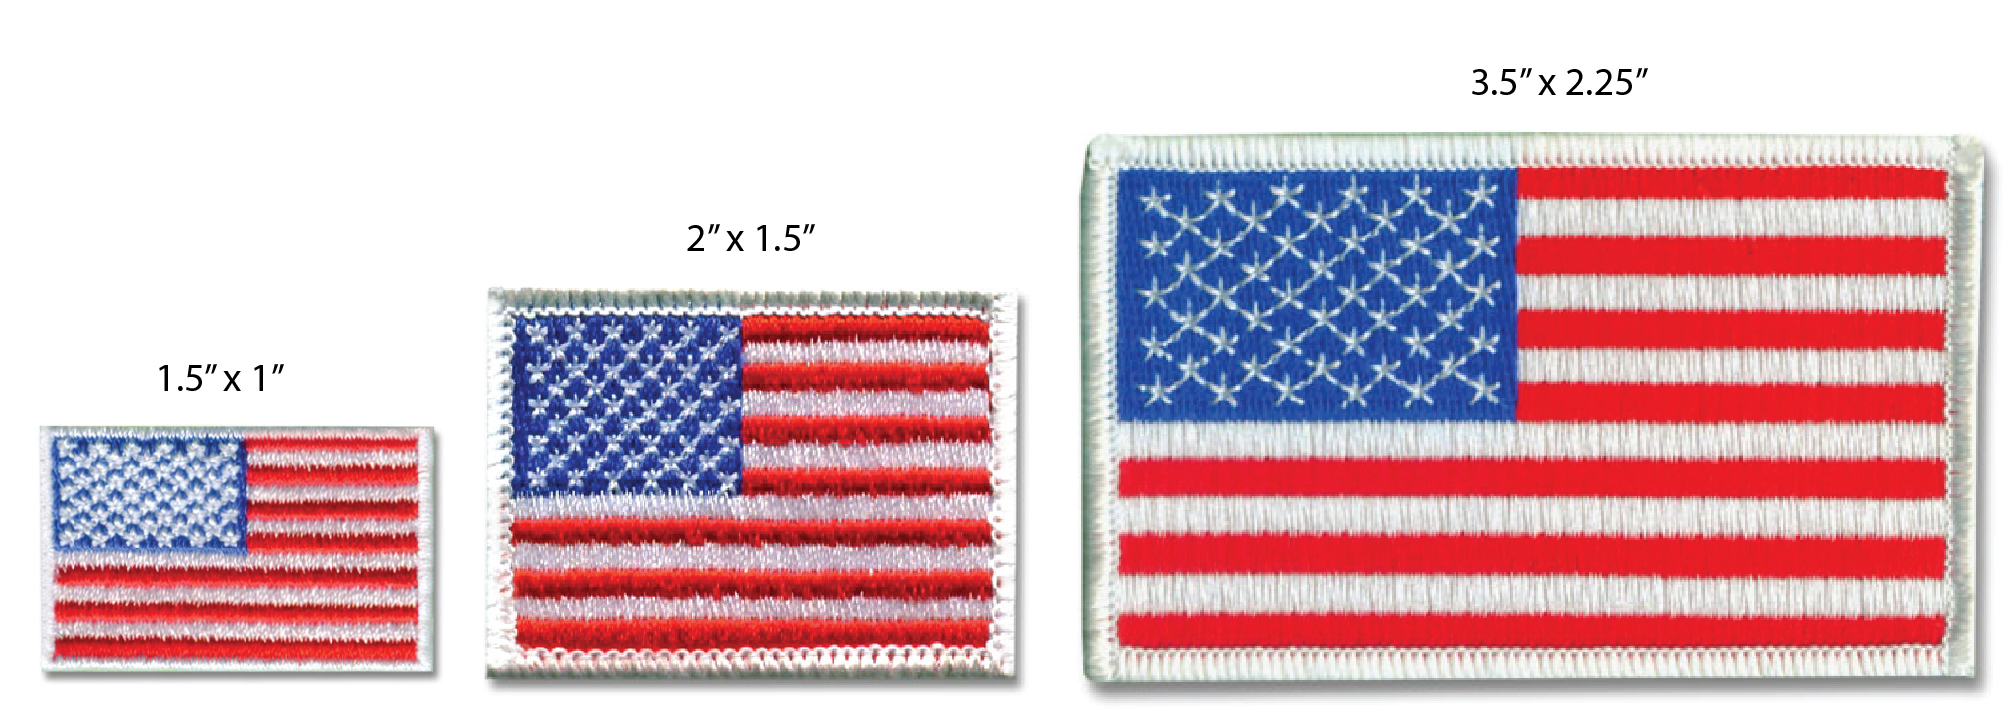
Check standard sizes against price breaks. Many suppliers price patches in size brackets, e.g., up to 2 inches, 2-3 inches, 3-4 inches. You might find that a 2.9-inch patch and a 3.1-inch patch cost the same, while a 3.2-inch patch jumps to the next bracket. In that case, design within the bracket to maximize value.
Factor in shape dimensions. A 3-inch circular patch and a 3-inch irregular-shaped patch are not the same cost. The circle fits neatly within a standard area, while the irregular shape may require more careful cutting and larger backing material due to the bounding box needed. If your shape can be simplified to a standard geometric form (circle, shield, square, rectangle), you'll often save on production costs.
Remember that perceived value doesn't scale linearly. A patch that's 50% larger doesn't have 50% more visual impact — the difference is often marginal to the average viewer. The incremental cost of that extra size is real, but the incremental benefit may be negligible. Be honest with yourself about what's actually needed.
By selecting the smallest size that effectively communicates your design, you can reduce thread usage, backing material, and machine time — all without losing impact.
How Do Backing and Attachment Options Affect Your Budget?
Your choice of backing and attachment method is one of the most flexible cost areas. You have options, and those options carry different price tags. Understanding them helps you match the cheapest suitable solution to your specific use case.
Sew-on patches are your baseline. This is the simplest, most economical option. The patch is embroidered on its base fabric, cut out, and shipped. There's no extra adhesive layer, no special fastening material — just the patch itself. Since sew-on requires no additional materials or handling beyond the basic patch construction, it's almost always the lowest-cost choice. If your patches will be attached to uniforms, bags, or jackets that can be sewn, this should be your default.
Iron-on backing adds a heat-activated adhesive. A layer of adhesive is bonded to the back of the patch. When heated with an iron or heat press, this adhesive melts and bonds the patch to the garment. This convenience comes at a cost — the adhesive material itself and the extra manufacturing step. Expect to pay a modest per-patch premium, usually something like $0.50–$1.00 per patch depending on size and quantity. Iron-on is ideal for end-users who need easy application without sewing skills.
Hook-and-loop (Velcro) attachments add the most cost. The hook material is cut and sewn onto the back of the patch. This involves sourcing the material, cutting it precisely, and adding a sewing step. Velcro adds more cost than iron-on. However, it's the best choice for tactical gear, uniforms that need frequent patch changes, or bags where patches are swapped out seasonally. Consider whether the added flexibility is worth the premium for your application.
Plastic (PVC) backing adds structure and stability. This thin plastic layer is inserted between the patch face and the backing, giving the patch a rigid feel that holds its shape. It's often used for large patches or designs that need to lay flat without wrinkling. The plastic itself is cheap, but the lamination step adds labor. If your patch will be displayed flat (e.g., on a wall plaque or collector board), it can be worth it. For wearables, it's often unnecessary.
Adhesive tape backing (pre-attached glue strips). Some patches come with double-sided tape pre-applied, allowing peel-and-stick application without heat. This is convenient but more expensive than iron-on due to the specialized tape and handling. It's best for temporary applications where heat isn't practical.
Bulk packaging savings. One often-overlooked cost is how your patches are packed. Requesting individual poly bags adds labor and material cost. Bulk packing in larger bags or boxes reduces that per-patch expense. If you're distributing patches individually, individual bags may be worth it. If they're all going to one place, bulk pack and save.
The real question: what does your end-user actually need? If your patches are going to a team that can sew, sew-on is perfect. If they're being sold at retail, iron-on or Velcro might be expected. Choose the attachment that meets your functional requirements — and no more.
Merrowed vs. Hot-Cut: Which Border Saves More?
Border choice might seem like a minor aesthetic detail, but it has meaningful cost implications — and the right choice depends largely on your patch shape.
Merrowed borders are the classic patch look. A specialized machine wraps a dense overlock stitch tightly around the very edge of the patch, creating a smooth, slightly raised border that's typically about 1/8 inch thick. This border is available in a wide range of thread colors, allowing you to match or contrast with your design.
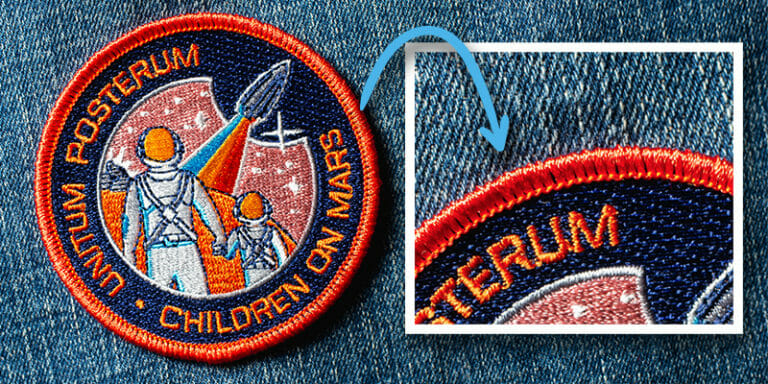
Cost-wise, merrowed borders are generally more affordable for standard shapes — circles, squares, rectangles, shields, and ovals. The merrowing machine is designed for these geometries and operates quickly and efficiently. If you're choosing a standard shape, merrowed is both the traditional and the budget-friendly choice.
Hot-cut borders are created by cutting the patch out of the fabric using a laser or a heated die. The heat seals the cut edge to prevent fraying. This method can produce patches in any shape imaginable — intricate outlines, animal shapes, letters, etc.
Hot-cut is the only viable choice for irregular shapes, but it comes at a premium. The cutting equipment requires precise setup for each unique shape, and the labor to align and cut non-standard outlines is higher. For complex shapes with many curves or sharp angles, hot-cut is necessary but more expensive.
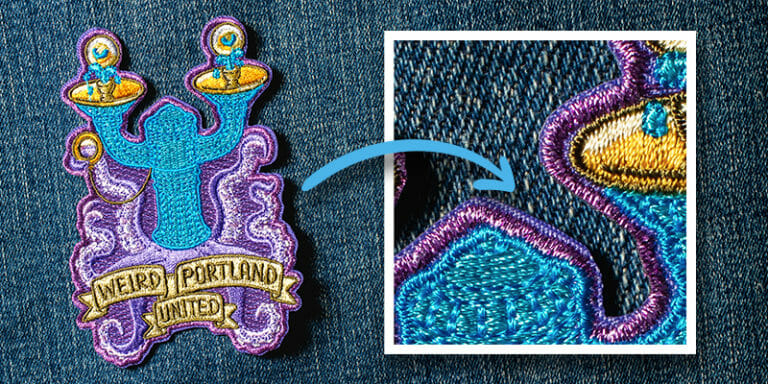
The shape dictation is key. If your design naturally fits within a circle, choose merrowed and save. If your brand or design absolutely requires a custom silhouette, hot-cut is your path — just be prepared for the additional cost.
Borders can also impact design legibility. A merrowed border around a complex shape (like a star) can sometimes clip into points or obscure fine features. For detailed irregular shapes, hot-cut preserves the exact outline better. In these cases, the additional cost might be justified by quality, not just shape necessity.
Custom Panda can help you evaluate options. If you're unsure whether your shape can be merrowed, we provide guidance at no charge. Sometimes a small redesign can make a shape merrow-compatible, saving you money while keeping your visual identity intact.
How to Calculate Your Optimal Order Quantity?
Order quantity is where many buyers leave money on the table — either by ordering too few and paying a high per-unit price, or ordering too many and sitting on unused inventory. Finding the sweet spot requires some calculation.
Understand the cost structure. Patch pricing typically includes a fixed setup charge (digitizing, creating backing materials, machine setup) plus a variable per-patch charge (thread, fabric, labor for each unit). As quantity increases, the fixed setup cost is distributed across more patches, lowering the average cost per patch.
Identify the price break points. Most suppliers offer tiered pricing: 1-50 pieces at one price, 51-100 at a lower price, 101-250 at an even lower price, and so on. The savings between tiers can be substantial. Often, the jump from 50 to 100 patches drops the per-unit cost significantly enough that the total cost for 100 is only slightly more than for 50 — meaning you effectively get extra patches for very little extra money.
Calculate the marginal cost. When evaluating whether to increase your order, compare the total cost of your current quantity to the total cost of the next tier. If the price difference is small, the extra patches essentially cost very little. This is often an opportunity to boost your order and get more value.
Consider your usage timeline. How quickly will you use 100 patches versus 50? If you have a single event, 50 may be more than enough — paying extra for 100 you don't need is false economy. But if you have ongoing needs (uniforms being replaced over time, multiple sales events, ongoing promotions), the larger order can be a smart investment.
Think about split orders. Some buyers coordinate with other departments or teams to combine orders and reach higher quantity breaks. This can work well if you're willing to manage distribution internally. Be cautious about final design differences — combining identical designs works best.
Warehouse considerations. If you order large quantities, factor in storage space. Are your patches sitting in a drawer for two years while you pay for 100 pieces but only need 25 this year? There's a cost to tying up capital in inventory.
Custom Panda's approach is straightforward. We recommend ordering the quantity that balances your budget and your timeline, then we show you where the price breaks occur so you can make an informed decision. Sometimes adding 10 more patches gets you a better price tier and actually costs less per patch than ordering fewer.
What Hidden Costs Should You Watch Out For?
The quoted price per patch is rarely the entire story. Without careful attention, additional fees can creep in and inflate your final bill. Knowing what to ask about upfront saves you from surprises.
Digitizing (artwork conversion) fees. Embroidery machines require a specific digital file format that translates your artwork into stitch instructions. This process, called digitizing, requires skilled labor and specialized software. Most suppliers include digitizing as part of the setup cost for a first order, but some charge it separately. Ask: Is digitizing included in my quote? If not, what's the one-time fee? Typically, digitizing costs range from $15 to $50 per design.
Setup or tooling fees. Some factories charge a setup fee for creating the backing material and preparing machines. This is usually included in the price quote but not always itemized. Clarify whether your quoted per-patch price includes all setup, or if there's an additional fixed charge.
Sample fees. If you want to see a physical sample before committing to a full production run, many suppliers charge a fee for this — often a higher per-patch price plus shipping. The sample confirms quality and appearance. Ask if sample costs are deducted from your final order (many reputable companies do this) or if they're an additional expense.
Rush order fees. If you need patches quickly, expedited production often comes with a surcharge. Normal production might be 10-15 business days; rushing to 5-7 days can add 15–25% to the order cost. Plane, train, or express shipping adds even more. Plan ahead to avoid this.
Shipping and handling. Freight costs vary wildly. A small order may ship via USPS First Class for $5, while a large order requiring a box could cost $20–$50. Overseas suppliers often have much higher international shipping rates and potentially customs duties. Always get a shipping quote and factor it into your total budget.
Sales tax or customs duties. Depending on your location and the supplier's location, sales tax may apply. For international orders, customs duties could be collected upon delivery. These aren't supplier fees but they're still costs you'll bear.
Split shipping fees. If you need patches shipped to multiple addresses (e.g., to different chapters of your organization), each shipment incurs separate shipping costs. Consolidating to a single address saves money; you can distribute locally later.
Minimum order quantities for options. Sometimes a specific backing or size is only available above a certain quantity. If you want iron-on but only need 25 pieces, the supplier might charge a setup fee that would be waived for 100 pieces. This turns an "optional" feature into an implicit minimum order. Ask: What's the minimum quantity for my desired options?
Custom Panda practices transparency. We provide all pricing upfront, itemizing digitizing, production, and shipping separately so you know exactly what you're paying for. There are no hidden charges — what we quote is what you'll pay, with the exception of shipping if you change addresses after checkout.
How to Choose a Supplier and Negotiate the Best Deal?
The supplier you choose can be the difference between a smooth experience and a frustrating one. Price isn't the only consideration — reliability, communication, and quality assurance are equally important.
Look for reviews and testimonials. Check third-party review sites and independent feedback from other customers. Pay attention to comments about delivery times, product quality consistency, and customer service responsiveness. A supplier with a 4.8-star rating over hundreds of reviews is a safer bet than an unknown with no feedback.
Request samples before committing. A physical sample is the only way to truly gauge thread quality, color accuracy, and stitch density. Any supplier that refuses to provide a sample — even at cost — should be approached with caution. Custom Panda encourages sample orders and applies sample costs toward your final production order if you proceed.
Compare quotes with a clear spec sheet. When getting quotes from multiple suppliers, provide exactly the same specification: size, shape, color count, backing type, border, quantity, and desired delivery date. This allows apples-to-apples comparison. If a quote is significantly lower than others, ask why — sometimes the difference is in thread quality or backing material.
Ask about production methods. Does the supplier use computerized embroidery machines? What thread brands do they use? What type of backing fabric? These details affect durability and appearance. Lower-cost suppliers often cut corners on thread quality or backing thickness.
Inquire about quality control. How many inspections happen during production? What happens if patches are defective? A clear policy on replacements or re-dos indicates a supplier who stands behind their work.
Negotiate, but be reasonable. Asking "What's your best price on 150 pieces?" is fine. Demanding a 40% discount without justification rarely works. Suppliers have margins, but they also have costs. Suggesting a quantity increase in exchange for a price break is often more compelling than just asking for a discount.
Ask about payment terms. Some suppliers offer discounts for upfront payment; others charge more for net-30 terms. Understand the cash flow implications. Also check if credit card payments incur a surcharge compared to bank transfers or checks.
Evaluate communication responsiveness. Email them with a question before you order. Do they reply within 24 hours? Is the response clear and helpful? If communication is slow or vague before you're a customer, it won't improve after you've paid.
Custom Panda's value proposition. We don't just sell patches; we partner with you throughout the process. Our team provides expert design feedback, clear pricing, and proactive status updates. We offer competitive rates without sacrificing the quality and service that makes patch ordering actually enjoyable.
Custom Panda: Your Premium Custom Patches Supplier
Ordering custom embroidered patches on a budget isn't about finding the cheapest supplier and hoping for the best. It's about understanding the cost drivers — size, colors, stitch count, backing, borders, and quantity — and making intentional decisions that align with your actual needs.
By simplifying your design, choosing the right size, selecting appropriate backings, understanding border options, calculating optimal order quantities, avoiding hidden fees, and choosing a reliable partner like Custom Panda, you can achieve professional-grade patches that look amazing, last for years, and fit comfortably within your financial constraints.
Quality and affordability are not opposites. They coexist when you work with a supplier who respects your budget and guides you toward smart decisions. Custom Panda was built on this principle — we believe everyone deserves great patches at fair prices.
Ready to start your patch project? Reach out to our team with your design idea, your target budget, and your timeline. We'll give you honest advice, clear pricing, and a finished product you'll be proud to display.
Your budget is safe with Custom Panda — and so is your quality.
Looking for more patch tips and design inspiration? Browse our blog or contact our support team — we're always happy to help.